
I’ve been itching to get back up to the Preseli Mountains / Hills for some time now – I think the last time I visited was last October.
4am my alarm went off, and having already planned ahead using the PhotoPills app and prepped the night before, all I need to do was fill a flask and hit the road.
I find travelling in the pitch black of night so therapeutic, and especially when you start seeing the blues fade in on the horizon it’s just such a beautiful sight.
It’s about a 45 minute drive, so I left plenty of time for getting fuel and hiking to the point I was planning to shoot from.
There’s a handy car park nearby and the walkway is fairly popular used regularly both by people and the roaming sheep, so finding your way in low light isn’t particularly treacherous.
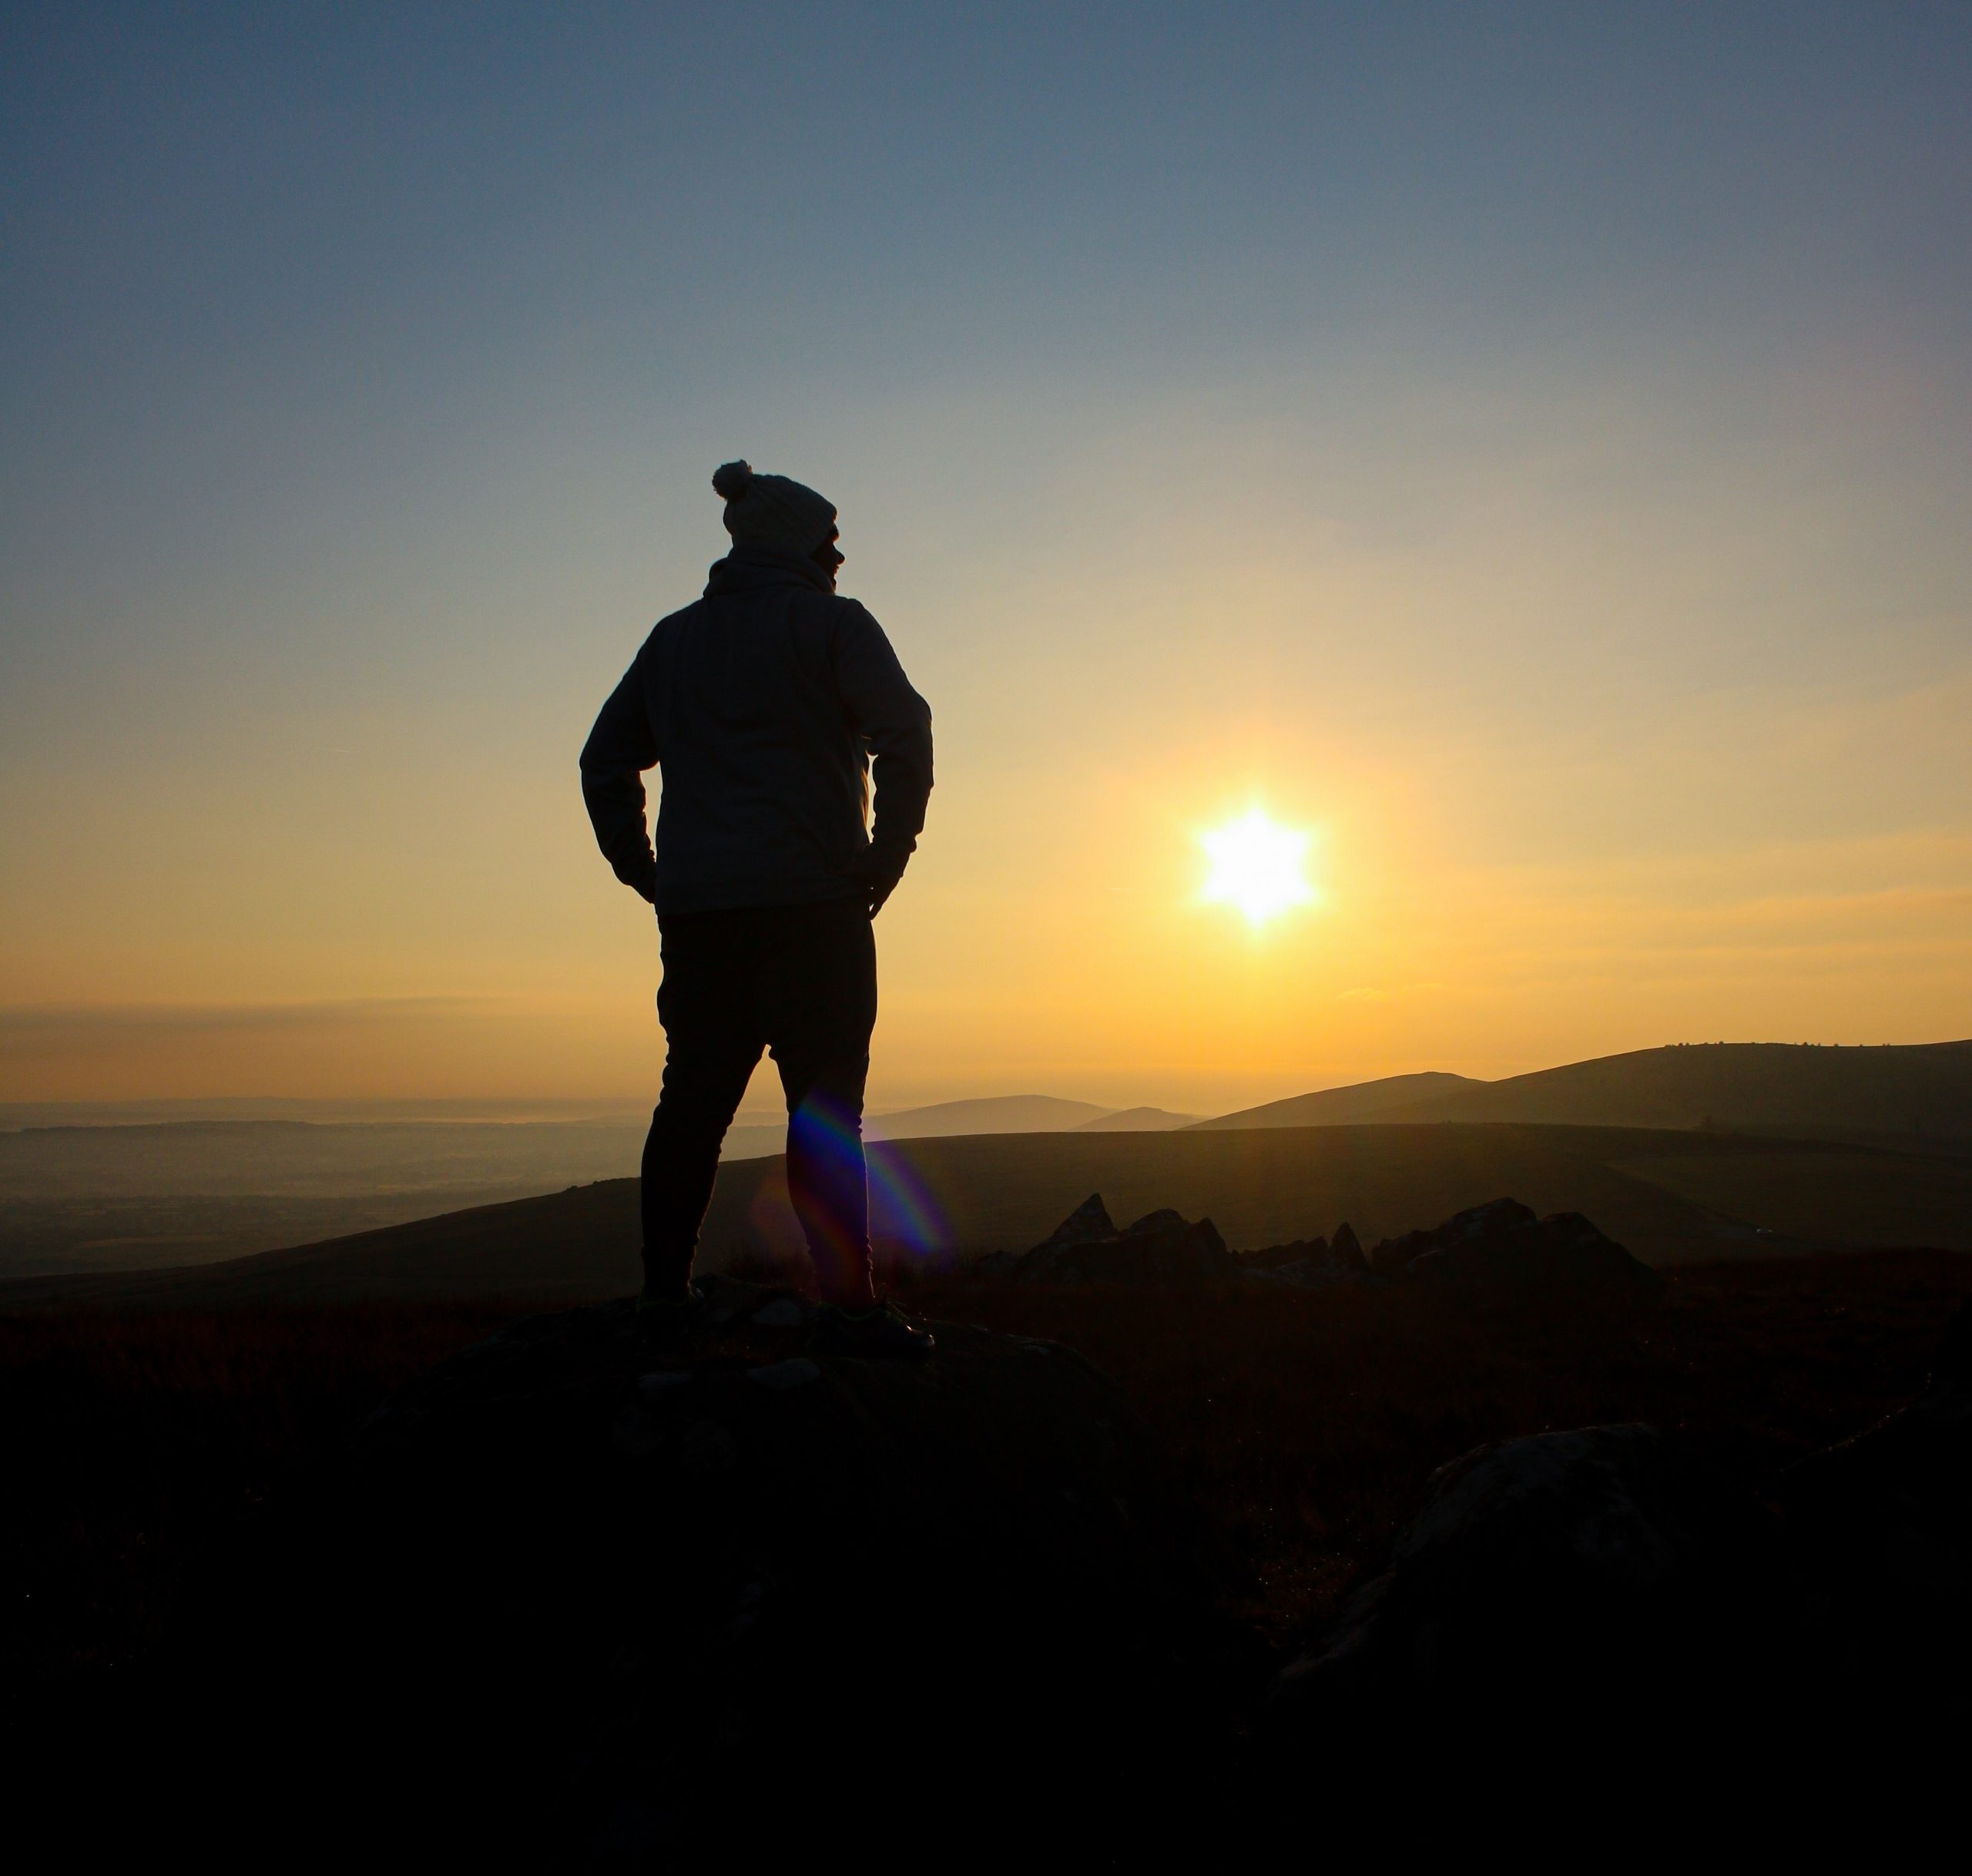
My plan was to take shots from the top of the summit, next to the iron-age burial mound, but I saw a little patch off to the right hand side, not quite as far up the hill, which had some fantastic mossy rocks and view over the rolling vista. I wandered around trying various heights and angles for shots, and settled on a composition.
In hindsight, I probably could’ve lined it up better to give a more dynamic foreground, but it was on the fly and overall I’m pretty happy with it.
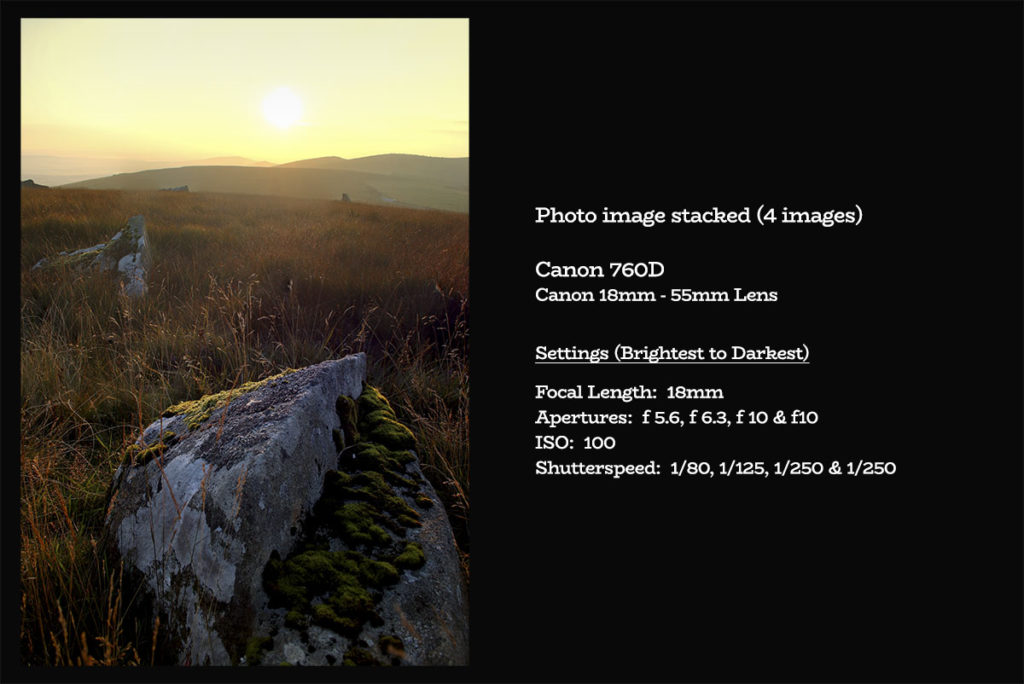
With the camera on the tripod, and shooting into the sun, there was no way I was going to be able to get the full dynamic range of colours from the sky through to the red glow on the foreground, so I cheated a little and had the ISO and other settings on the Pro mode, auto selecting the best combination of f-stop and shutter speed to capture what I was seeing in front of me.
When photographing my landscapes, I have the camera set on a 2 second delay, and use the touchscreen live view on the Canon 760D to make sure the focus is on each area I want to make sure is pin sharp.
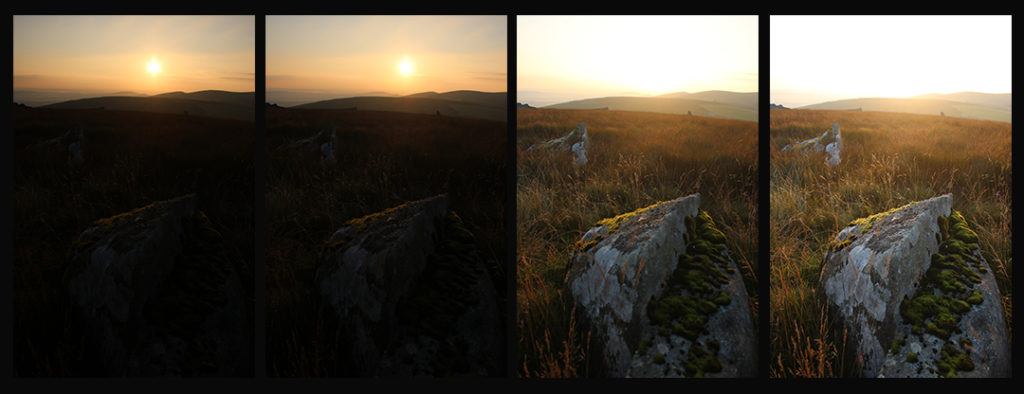
In this case, I focused on the right hand moss, the left hand moss, the rock on the left hand side a little further into the frame and then the mountain range and finally the sky to try and capture the darker clouds around the sun, so 5 images in total.
Not there’s a few ways you can do this process, and I don’t think there’s a ‘right way’.
Some will say to edit the photos and then merge, some will say the other way around.
Personally, I merged and then edited, and the colour ranges and exposures were so different anyway that it just seemed more logical to edit afterwards.
Focus & Exposure Stacking
There’s a quick way to do this from Lightroom, but I’m an old-school hand at Photoshop from my design background, but either way works. You’ll want to open a new Photoshop document, and have the photos you’ve taken a different layers. Depending which way you’ve done this, the photos may have been imported as Smart-Objects, so you will need to right click on each one and Rasterize it.
Once you have all of your layers selected, you can do the following:
Edit > Auto-Align Layers
This is an important step, because there is naturally going to be an amount of image movement, and this just makes sure everything in lined up perfectly (in theory) before we do the next step:
Edit > Auto-Blend Layers
Now this one is where it takes your images and makes sure to mask off the areas that are in focus between the images. You’ll want to make sure you select to stack the photos and not panorama. Now this can be a bit hit or miss depending on your subject, but the output should be a nice, well focused shot which you can work further into. It should have prioritised the exposures too and you’ll hopefully have a really great looking shot which just needs tidying up in Lightroom. Save your file in your preferred format, such as TIFF or a high quality JPEG and you can drag it back into Lightroom to touch up.
I found the Auto-Blend didn’t pull the clouds through as much as I’d have liked, but everything else worked really well. I’ll include the image below.
If I could shoot it again, I think I’d have made the rock fill that initial foreground area, and maybe take it a touch lower to bring the second stone more into play, but it’s a fine balance between losing the vista on the horizon and having a great looking foreground. I’ll likely try and re-shoot this over the coming months and hopefully catch some fog in the lower areas.
Hopefully this little article has helped you to learn a little more about focus stacking and exposure stacking, and if you enjoyed this story please do hit the little love button, and don’t forget to check out my Instagram too, instagram.com/nate.warlow
Have a great week, and I’ll catch you for the next one.